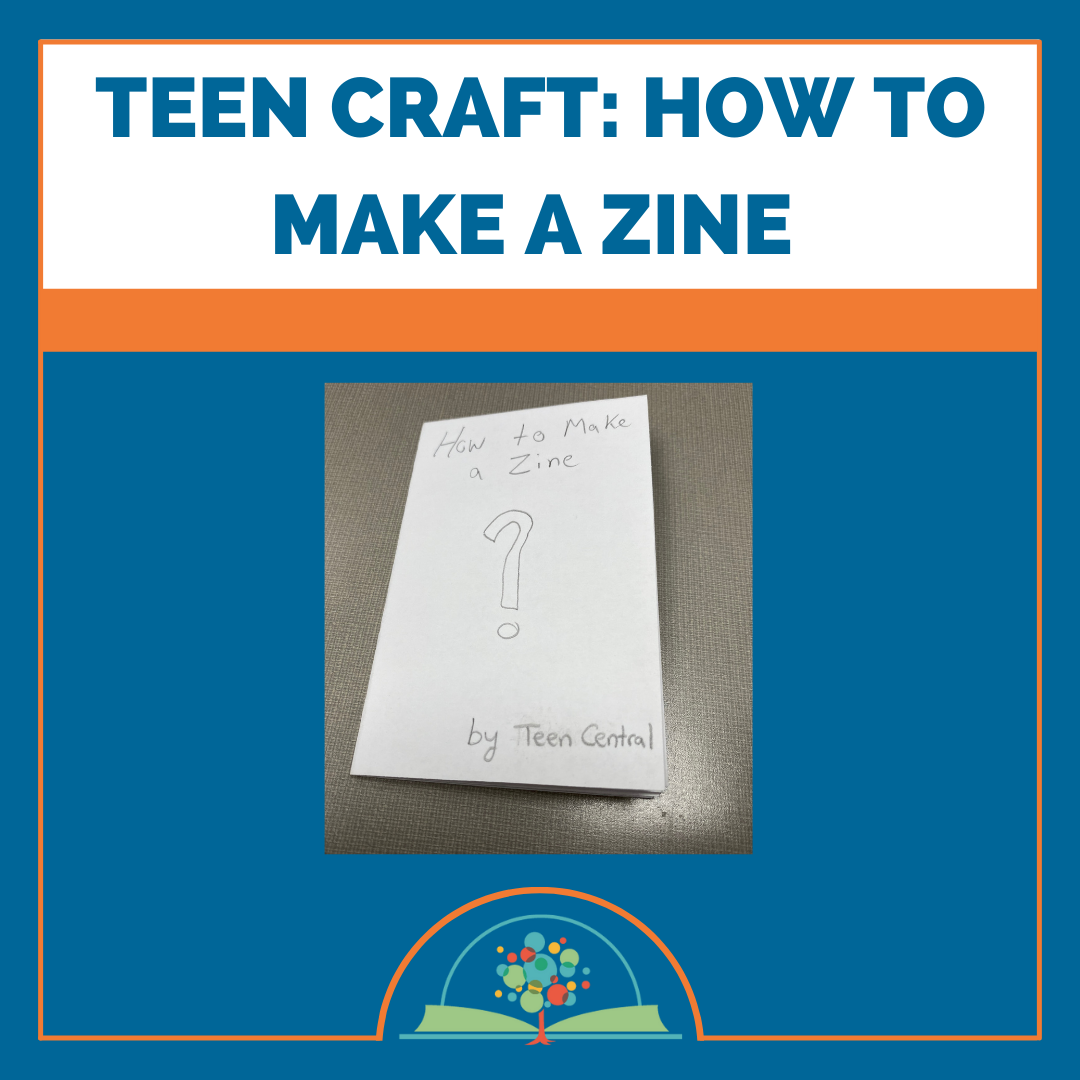
16 Sep Teen Craft: How to Make a Zine
If you enjoy writing, and want to create something easy and easily shareable, consider making your very own zine! The process of creating a zine is simple. Below is a pictorial step-by-step guide that shows you every step you need to take to make your masterpiece. If you would like to watch a video demonstration instead, check out Teen Central’s program video from last year.
Step 1

Take a piece of paper, 8.5 by 11, and lay it on a flat surface.
Step 2

Fold the sheet of paper in half vertically.
Step 3

Fold the sheet of paper in half horizontally.
Step 4

Open the folded sheet of paper. You need to fold each side of the paper to the center fold as pictured.
Step 5

Flip the paper over and fold it in half on the first horizontal fold.
Step 6

Take a pair of scissors and cut inwards towards the center of the paper on the folded line.
Step 7

Stand the paper up and push the right and left sides of the paper towards the center. Doing so will cause the paper to fold into the shape of a book.
Step 8

Press down firmly on the folds to make sure your zine is in the proper form.
Step 9

Open your folded zine into a flat paper again. You can do this step and the last one after Step 6 if you want. You do not need to number your pages, but remember that the bottom of the flattened paper goes from left to right, pages 1-4. Turning the page around, from left to right you have pages 5-6, back page, and finally the front page.
Step 10

Design your own zine with as much creativity as you can. Pick one theme and gear everything you put on each page to that theme. You can make a music zine, a zine about your school, or one focused on any other topic that you are passionate about. You can draw or tape images to add visuals to your writing.
If you want to make copies to give to your friends, then you can unfold your zine and photocopy it. Then you just have to fold and cut the copy to make extra finished copies of your zine.
Happy creating!


